
Using Token2 programmable hardware tokens for JumpCloud platform (including Windows Workstation Login)
 JumpCloud is a zero-trust directory platform that allows customers to authenticate, authorize, and manage users, devices, and applications through a unified cloud-based directory, replacing traditional on-premises IT systems.
The user interface (UI) provides a central hub for accessing IT resources needed for various tasks. This includes both on-premises devices and applications, such as laptops and wireless access points, as well as cloud-based services like software-as-a-service (SaaS) applications. Multi-Factor Authentication (MFA) with JumpCloud enhances security by securing user access to organizational resources.
JumpCloud supports several MFA methods, including Time-Based One-Time Password (TOTP) and WebAuthn. In this guide, we will outline the steps to configure Token2 programmable tokens for the Time-Based One-Time Password (TOTP) method. This serves as a drop-in replacement for TOTP authentication apps, such as Google Authenticator, in two-step verification.
Please note that this method supports the following resources:
1)User Portal
2)SSO Applications
3)Devices
4)JumpCloud LDAP
5)RADIUS
Requirements:
• An admin access to the JumpCloud console.• Any of the Token2 TOTP programmable tokens.
• An app for provisioning the programmable tokens (NFC burner or USB Config tool, depending on the model). The list of compatible apps is available here.
Step 1.Enable an MFA method
1. Log in to the JumpCloud Admin Console at https://console.jumpcloud.com/login/admin.2. From your admin dashboard, scroll to Security Management in the left navigation bar and click on MFA Configurations.
3. Toggle the switch to Enabled next to the Time-Based One-Time Password (TOTP) method, as shown below.

Setting Up an Authenticator App
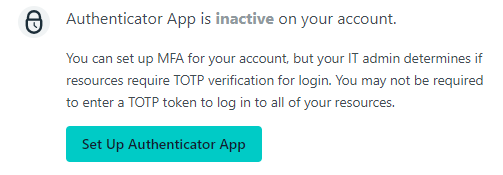
1. Log in to the JumpCloud User portal at https://console.jumpcloud.com/login.2. Click on Security in the left navigation bar, and then click Set Up Authenticator App in the right panel.
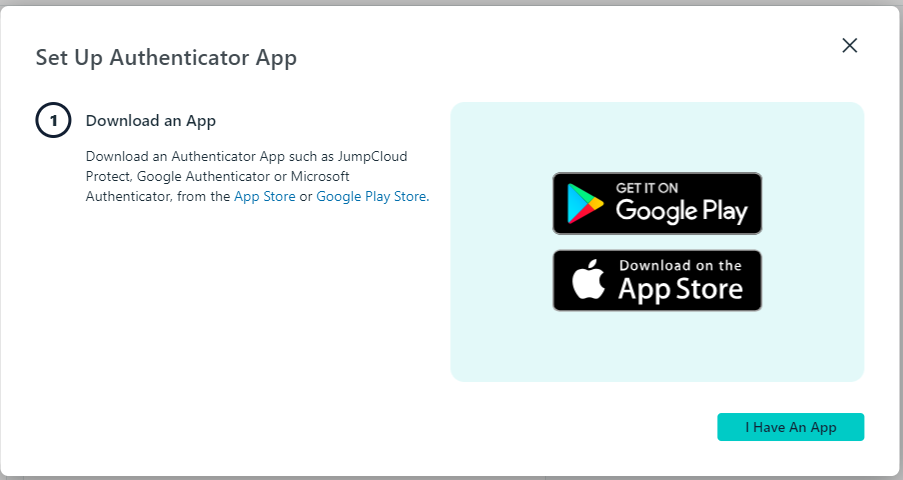
3. A pop-up window will appear. Click the 'I have an app' button..
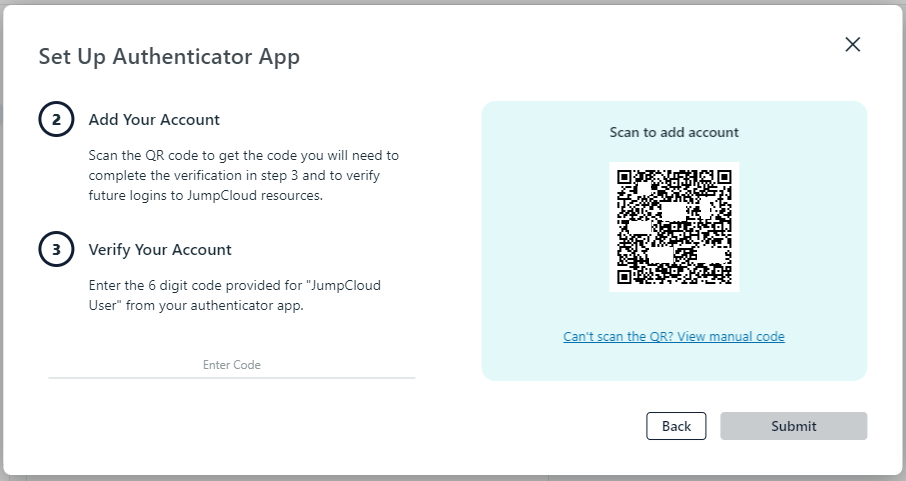
4. A QR code will be displayed in the browser that you will scan using one of the provisioning tools in the next step.
Step 2. Provision the token
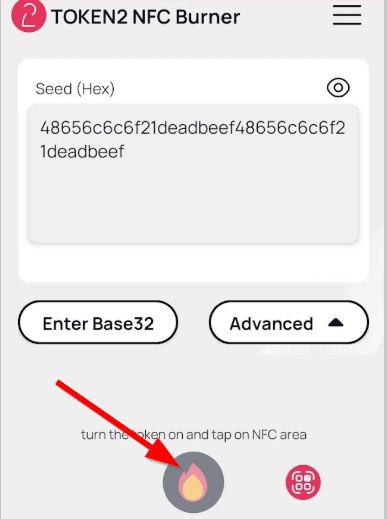
- Launch the NFC burner app on your Android device and hit the "QR" button
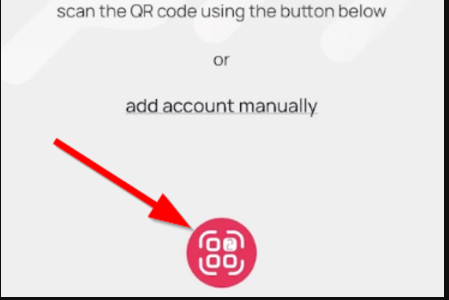
- Point the camera to the QR code shown on the account page. Upon a successful QR scan, the camera window should disappear
- Turn on the token and touch it with your phone (make sure it is overlapped by the NFC antenna) and click "Connect" on the app
- Upon successful connection, click the "Burn seed" button (the button will become active only if NFC link is established).
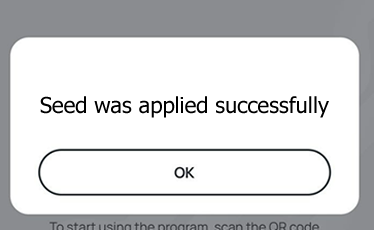
- A message box similar to the one below will be shown upon successful completion
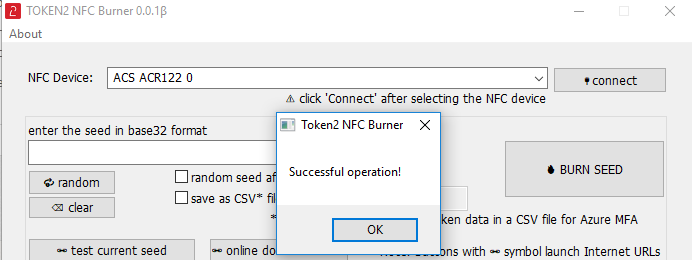
Follow the steps below to perform setting the seed for your token using Windows App.
1. Launch the exe file, then select the NFC device from the drop-down list and click on "Connect". You should see a message box notifying about a successful operation.
2. Enter or paste the seed in base32 format, or use one of the QR scanning methods to populate this field
3. Place the token onto the NFC module and wait for its serial number to appear.
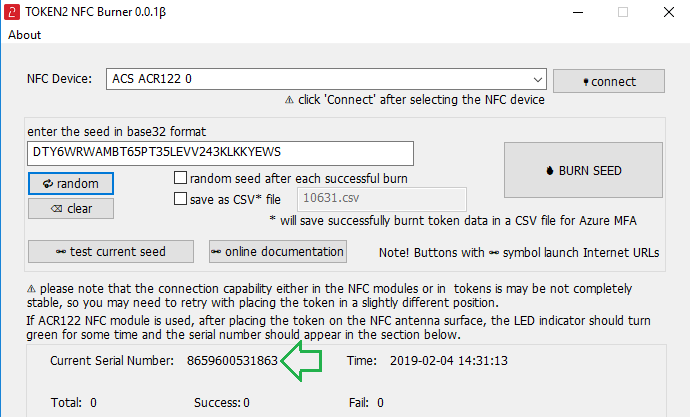
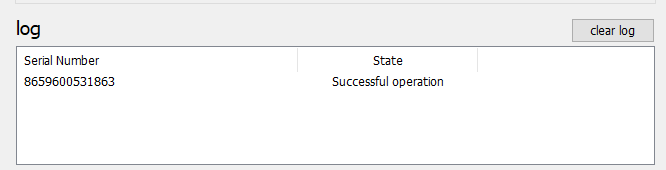
4. Click on "Burn seed" button. A log entry with the serial number and "Successful operation" text will be logged in the log window.
- Launch the NFC burner app on your iPhone device and hit the "scan QR" button
- Point the camera to the QR code shown on the account page. Upon a successful QR scan, the camera window should disappear and the seed field will be populated with the hex value of the seed. Touch the Burn button to continue.
- When an NFC prompt similar to the one below is shown, turn on the token and touch the top of your iPhone with the token.
- A message box similar to the one below will be shown upon successful completion
Please note that the procedures above are shown only as examples and are valid to single profile TOTP tokens only. The procedure for multi-profile and USB-programmable devices are similar but slightly different
Step 3. Verify the OTP
Once the token provisioning is complete, turn the token off and then back on. Paste the generated OTP into the 'Verify Your Account' field and click 'Submit'.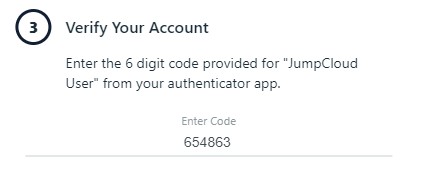
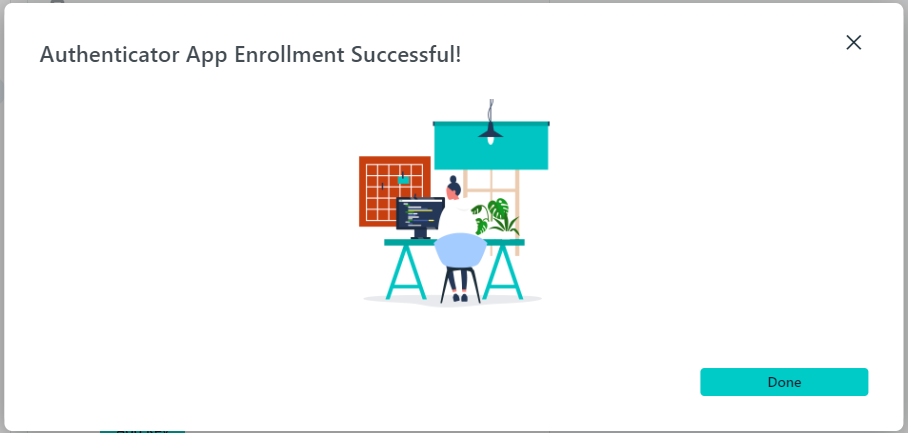
Click 'Done' to complete the enrollment process.
Your user account is now ready to use this identity verification method. When JumpCloud prompts you for your OTP, turn on the token and retrieve the OTP to complete the verification.
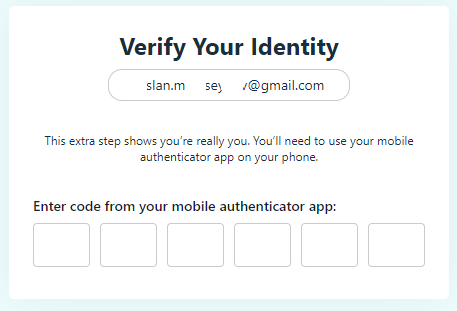
Please note that this authentication method is also suitable for devices.You just need to assign this authentication method to the required device. In the case of a PC, Windows login will prompt for an OTP after entering your password:

Subscribe to our mailing list
Want to keep up-to-date with the latest Token2 news, projects and events? Join our mailing list!