Hardware token for two factor authentication in ProtonMail
2 Factor Authentication (2FA) adds an additional layer of security to your ProtonMail account by adding an additional verification to the login process to protect your account. Currently, ProtonMail supports the TOTP protocol, so accounts with 2FA enabled will be prompted to enter a 6-digit code upon logging in. This 6-digit code can be generated by an app that is installed on your mobile phone or alternatively a programmable hardware token from Token2. The guide below describes the enrollment process.
Requirements:
- A ProtonMail account (free or paid)
- A Token2 programmable token (the guide below shows miniOTP-1 as an example)
- An Android device with NFC - this is needed for the enrollment only, subsequent logins will only require the hardware token
1. Visit the Account and Password section within the Settings of your account. This can only be done through the web version of Proton found at https://account.proton.me/u/0/mail/account-password
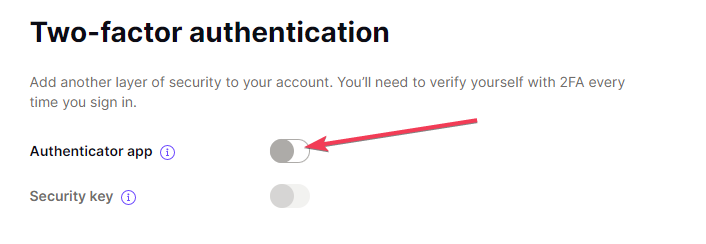
2. Select Authenticator app under Two-Factor Authentication
3. After a password verification, a QR code to be scanned with a burner or config app will be shown, similar to the example below.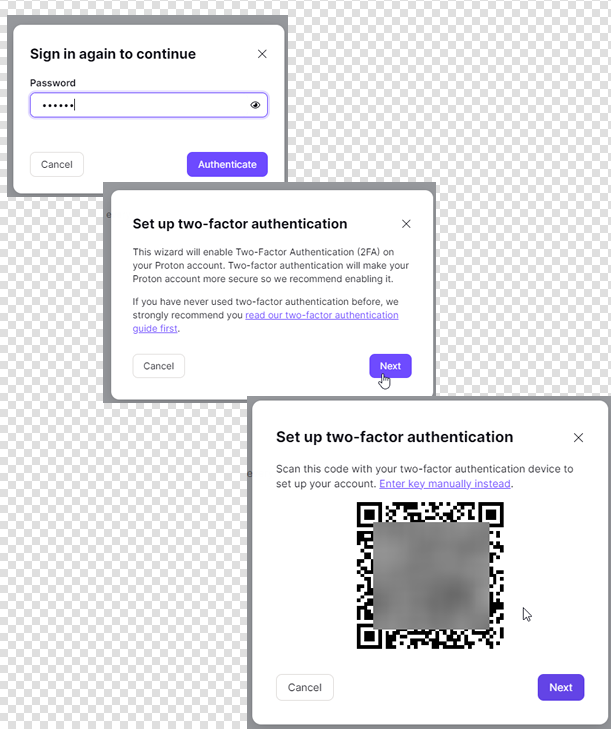
Open the Token2 Burner app on your mobile device and click the button to scan a QR code, or manually enter the authentication key (base32 format is to be used). To scan the code, point your device's camera at the QR code seen in the setting of your ProtonMail account. (Note: the image above is a demo, do not scan it. Scan the image shown in your account.)
- Launch the NFC burner app on your Android device and hit the "QR" button
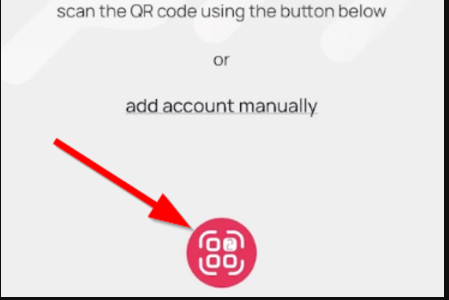
- Point the camera to the QR code shown on the account page. Upon a successful QR scan, the camera window should disappear
- Turn on the token and touch it with your phone (make sure it is overlapped by the NFC antenna) and click "Connect" on the app
- Upon successful connection, click the "Burn seed" button (the button will become active only if NFC link is established).
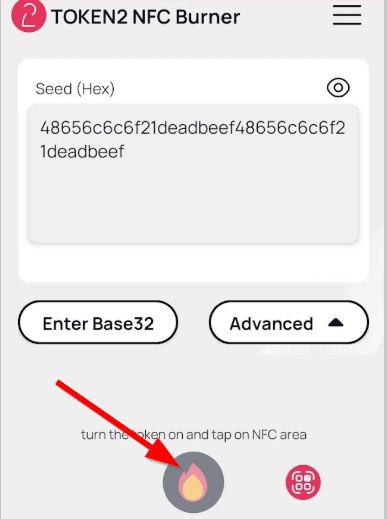
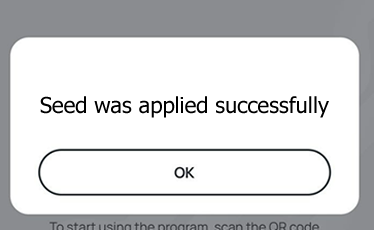
- A message box similar to the one below will be shown upon successful completion
Follow the steps below to perform setting the seed for your token using Windows App.
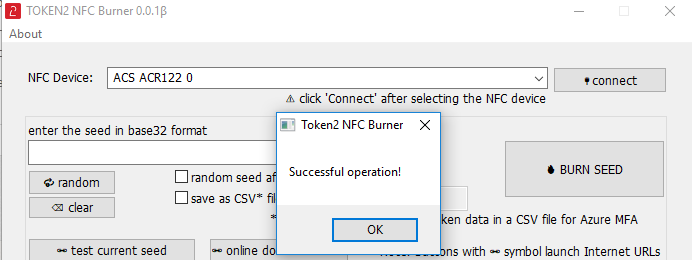
1. Launch the exe file, then select the NFC device from the drop-down list and click on "Connect". You should see a message box notifying about a successful operation.
2. Enter or paste the seed in base32 format, or use one of the QR scanning methods to populate this field
3. Place the token onto the NFC module and wait for its serial number to appear.
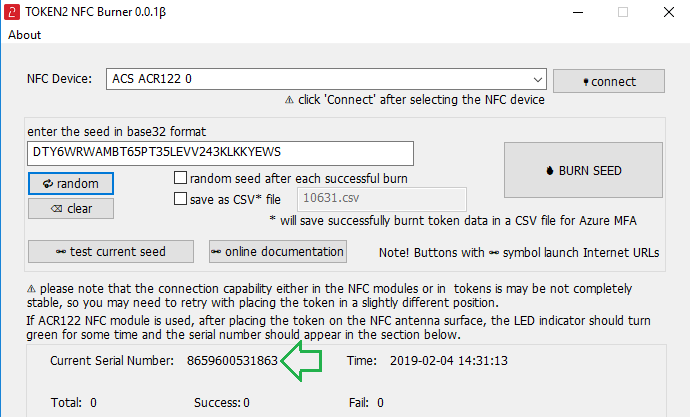
4. Click on "Burn seed" button. A log entry with the serial number and "Successful operation" text will be logged in the log window.

- Launch the NFC burner app on your iPhone device and hit the "scan QR" button

- Point the camera to the QR code shown on the account page. Upon a successful QR scan, the camera window should disappear and the seed field will be populated with the hex value of the seed. Touch the Burn button to continue.

- When an NFC prompt similar to the one below is shown, turn on the token and touch the top of your iPhone with the token.
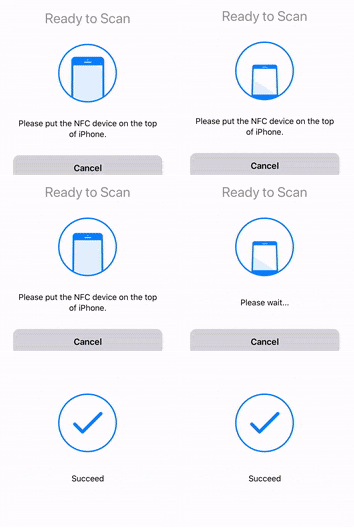
- A message box similar to the one below will be shown upon successful completion

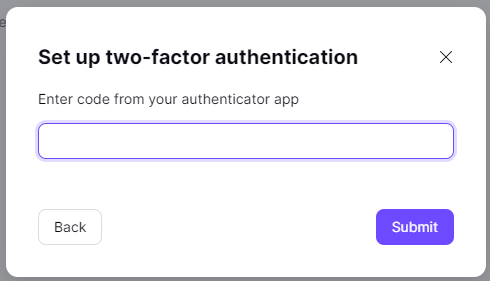
4. You will see the following modal that requires you to enter the Login password of your account, along with the two-factor passcode which you will see displayed on your hardware token.
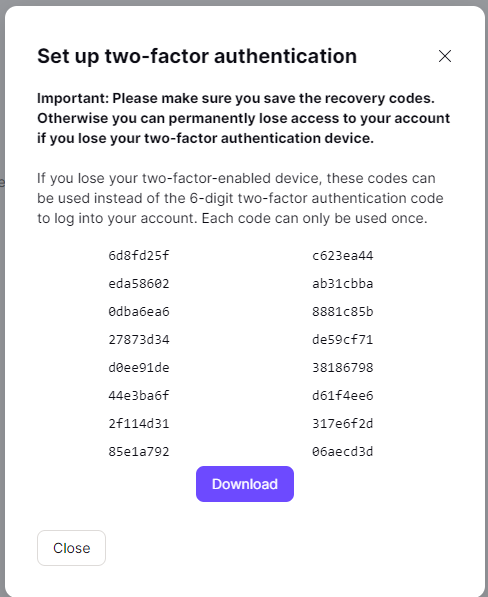
5. ProtonMail will also provide you with several one-time use recovery codes. Please save these codes in a secure place and do NOT lose them. If you ever misplace or lose your authentication device (mobile phone, etc) these codes will be the only way to log into your account. If you ever lose your hardware token, you can enter these codes instead of the 6-digit authenticator code. Note, each code can only be used once, and they must be used in the listed order, so please save all the codes.
Subscribe to our mailing list
Want to keep up-to-date with the latest Token2 news, projects and events? Join our mailing list!

